
Removing a tree stump can be a daunting task, but with the right tools, techniques, and safety precautions, you can do it yourself without calling in the professionals.
Here’s a step-by-step guide to safely remove a tree stump from your yard.
Materials and Tools You’ll Need:

- Chainsaw
- Drill and large drill bit
- Stump remover or potassium nitrate
- Axe or mattock
- Shovel
- Protective gear (gloves, goggles, sturdy boots)
- Mulch
- Water
- Tarp (optional)
Step-by-Step Guide:
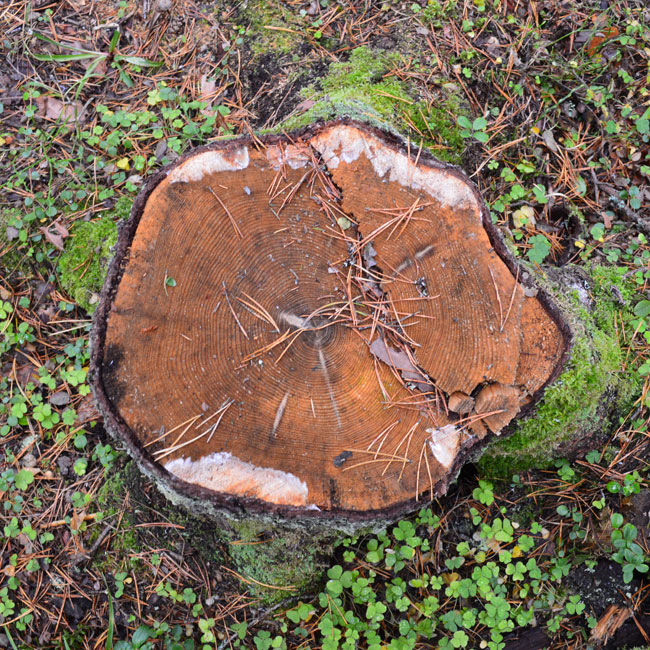
1. Assess the Situation
Before starting, evaluate the size and condition of the stump. Smaller stumps are easier to remove manually, while larger stumps may require more effort and time. Ensure there are no underground utilities near the stump by calling your local utility company for a check.
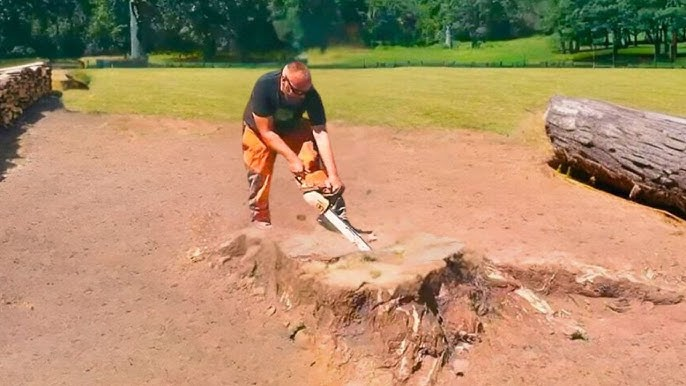
2. Cut the Stump Down to Ground Level

Use a chainsaw to cut the stump as close to the ground as possible. This will make the next steps easier and more effective. Ensure you wear protective gear, including goggles, gloves, and sturdy boots, to protect yourself from flying debris and chainsaw accidents.
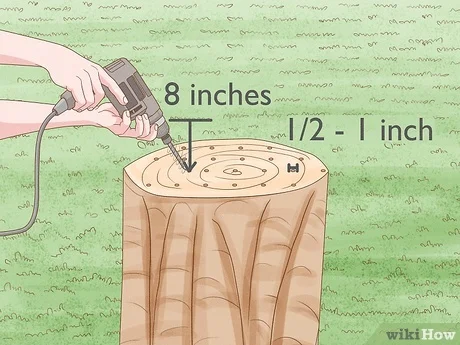
3. Drill Holes in the Stump
Using a drill with a large drill bit (approximately 1-inch diameter), drill several holes into the top of the stump. The holes should be about 8-12 inches deep and spaced a few inches apart. This will allow the stump remover to penetrate deeply and speed up the decomposition process.
4. Apply Stump Remover

Fill the drilled holes with stump remover or potassium nitrate. Follow the manufacturer’s instructions on the packaging for the correct amount and application method. The chemicals will accelerate the decomposition of the wood, making it easier to remove.
5. Wait for Decomposition

Depending on the size of the stump and the product used, this process can take several weeks to a few months. During this period, keep the stump moist to aid in the decomposition process. Covering the stump with a tarp can help retain moisture and speed up the breakdown of the wood.
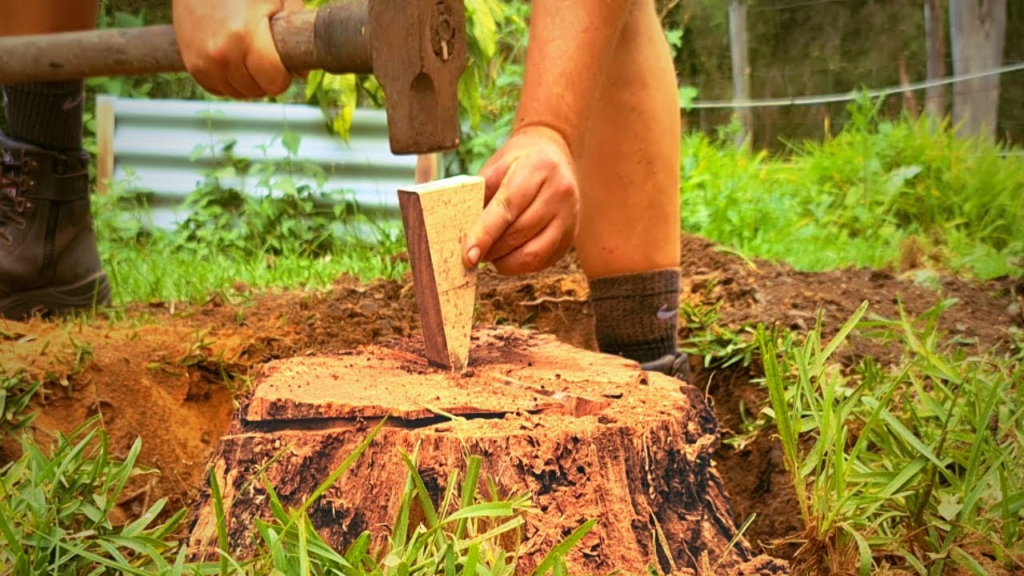
6. Remove the Rotting Stump
Once the stump has softened significantly, use an axe or mattock to break up the remaining wood. Start by chopping away at the outer edges and work your way inward. You can also use a shovel to dig around the stump and expose more of the roots for easier removal.
7. Dig Out the Roots

Dig around the base of the stump with a shovel to expose the roots. Use the axe or mattock to cut through the larger roots. For stubborn roots, a root saw can be particularly useful. Continue digging and cutting until you can lever the stump out of the ground.
8. Fill the Hole
After the stump and roots are removed, fill the hole with soil or mulch. Pack the soil firmly to prevent future settling. You can also plant grass seed or cover the area with sod to blend it with the rest of your yard.
Safety Tips:
- Wear Protective Gear: Always wear gloves, goggles, and sturdy boots to protect yourself from debris and tool-related injuries.
- Use Tools Properly: Ensure you are familiar with the operation of tools like chainsaws and drills. Follow all safety instructions provided by the manufacturers.
- Check for Utilities: Before digging, contact your local utility company to ensure there are no underground lines that could be damaged or pose a danger.
- Work in Dry Conditions: Avoid working on wet, slippery ground to prevent accidents.
By following these steps, you can safely and effectively remove a tree stump from your yard without needing to hire professional services. Not only will you save money, but you’ll also gain the satisfaction of completing a challenging DIY project.