Indulging in a slice of rich chocolate truffle pie is like taking a bite of pure bliss. This dessert, known for its velvety texture and intense chocolate flavor, is a favorite among chocolate lovers.
Whether you’re a seasoned baker or a beginner looking to impress, this guide will take you through the steps to create the perfect chocolate truffle pie.

From selecting the finest ingredients to mastering the baking process, you’ll find everything you need to make this luxurious treat.
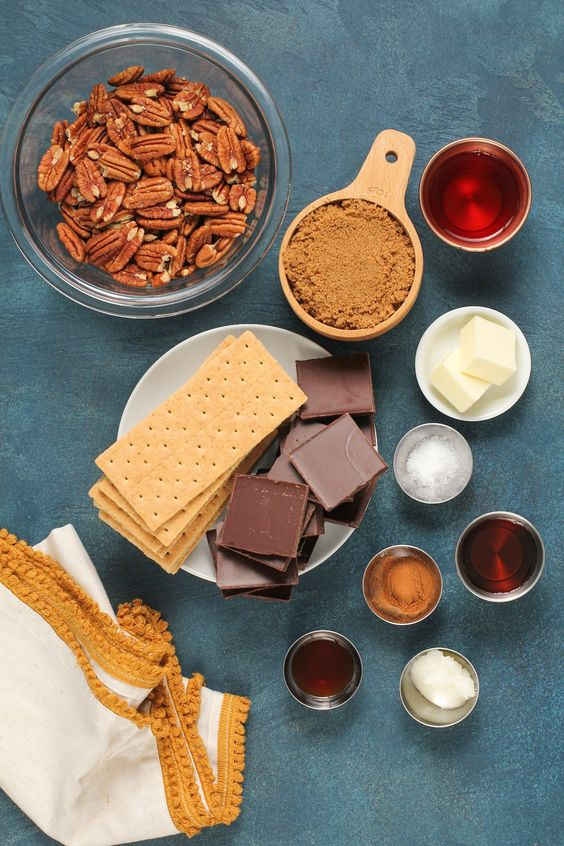
Ingredients for the Perfect Chocolate Truffle Pie
Selecting the Best Chocolate
The quality of chocolate you use will significantly impact the final product. Opt for chocolate with a high cocoa content, preferably between 60% and 70%. This will ensure a rich flavor without being overly sweet.
Other Essential Ingredients
- Crust: A buttery, flaky crust is essential. You can use a classic pastry crust or a cookie crumb crust made from chocolate or graham crackers.
- Cream: Heavy cream is crucial for achieving the silky texture of the filling.
- Butter: Adds richness and helps to create a smooth filling.
- Eggs: Provide structure and stability to the filling.
- Sugar: Balances the bitterness of the chocolate.
Making the Crust
Classic Pastry Crust
Ingredients:
- 1 ¼ cups all-purpose flour
- ½ cup cold unsalted butter, cubed
- ¼ cup ice water
- 1 tablespoon sugar
- ¼ teaspoon salt
Instructions:
- Combine the flour, sugar, and salt in a bowl.
- Cut in the butter until the mixture resembles coarse crumbs.
- Gradually add ice water, mixing until the dough comes together.
- Roll out the dough on a floured surface and fit it into a pie dish.
- Chill for 30 minutes, then bake at 375°F (190°C) for 20 minutes or until golden.
Cookie Crumb Crust
Ingredients:
- 1 ½ cups chocolate or graham cracker crumbs
- 6 tablespoons melted butter
- 2 tablespoons sugar
Instructions:
- Combine the crumbs, melted butter, and sugar.
- Press the mixture into a pie dish.
- Chill for 10 minutes, then bake at 350°F (175°C) for 10 minutes.

Preparing the Truffle Filling
Ingredients
- 12 ounces high-quality dark chocolate, chopped
- 1 ½ cups heavy cream
- ¼ cup unsalted butter
- 3 large eggs, beaten
- ½ cup granulated sugar
- 2 teaspoons vanilla extract
Instructions
Melt the Chocolate:
- Place the chopped chocolate in a heatproof bowl.
- Heat the cream and butter in a saucepan until just boiling.
- Pour the hot cream mixture over the chocolate and let it sit for a minute.
- Stir until the chocolate is completely melted and smooth.
Combine with Eggs:
- In a separate bowl, beat the eggs with the sugar and vanilla extract.
- Slowly add the melted chocolate mixture to the eggs, whisking constantly to avoid curdling.
Bake the Filling:
- Pour the filling into the prepared crust.
- Bake at 325°F (160°C) for 30-35 minutes or until the center is just set.
- Allow the pie to cool to room temperature, then refrigerate for at least 4 hours.
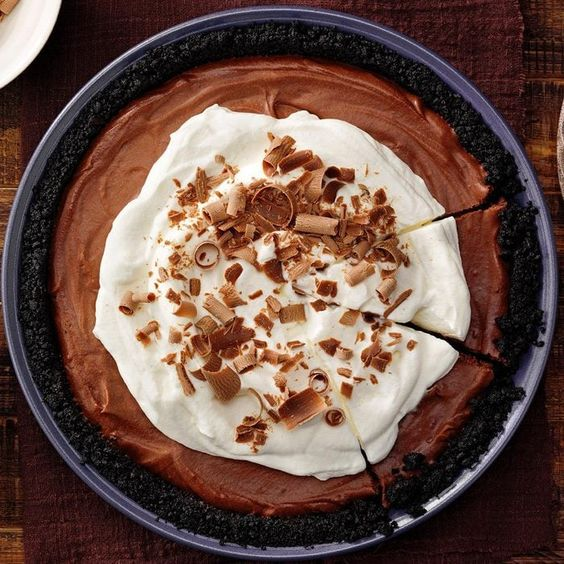
Finishing Touches
Whipped Cream Topping
Ingredients:
1 cup heavy cream
2 tablespoons powdered sugar
1 teaspoon vanilla extract
Instructions:
Whip the cream, sugar, and vanilla extract until soft peaks form.
Spread or pipe the whipped cream over the chilled pie.
Garnishes
a) Chocolate Shavings: Use a vegetable peeler to create chocolate curls from a bar of chocolate.
b) Fresh Berries: Raspberries or strawberries add a pop of color and a fresh contrast to the rich chocolate.
c) Cocoa Powder: Lightly dust the top of the pie with cocoa powder for an elegant finish.

Tips for Success
Handling Chocolate
- Melting: Use a double boiler or microwave in short bursts, stirring frequently to avoid burning the chocolate.
- Quality: Always use the best quality chocolate you can afford for the richest flavor.
Baking the Perfect Pie
- Doneness: The center should be slightly jiggly when you remove the pie from the oven. It will set as it cools.
- Cooling: Allow the pie to cool completely before refrigerating to prevent condensation on the surface.
Storage
- Refrigeration: Store the pie in the refrigerator, covered, for up to 4 days.
- Freezing: For longer storage, freeze the pie without the whipped cream topping. Thaw in the refrigerator overnight before serving.
The Allure of Chocolate Truffle Pie
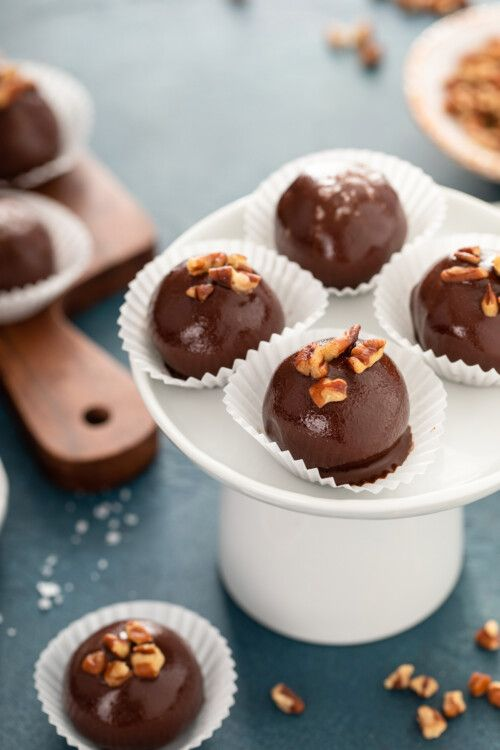
A Brief History
Chocolate truffles, originally named after the fungus due to their similar appearance, have been a delicacy since the early 20th century.
The pie variation emerged as a popular dessert in the latter half of the century, combining the silky texture of truffles with the comforting form of a pie.
Why It’s a Favorite
The rich chocolate truffle pie stands out due to its intense flavor and creamy consistency.
The combination of high-quality chocolate, cream, and a buttery crust creates a dessert that is both indulgent and satisfying.
It’s perfect for special occasions or as a luxurious treat to enjoy at home.
Conclusion
A rich chocolate truffle pie is the epitome of decadence, combining the finest ingredients and careful preparation to create a dessert that’s sure to impress.
Whether you’re serving it at a dinner party or indulging in a slice after a long day, this pie is a celebration of all things chocolate.
With the detailed steps and tips provided, you’ll be well on your way to mastering this luxurious treat.
FAQs
Q1. Can I use milk chocolate instead of dark chocolate?
A1. Yes, but the pie will be sweeter and less intense. Adjust the sugar in the recipe accordingly.
Q2. Can I make the pie ahead of time?
A2. Absolutely. The pie can be made a day or two in advance and stored in the refrigerator.
Q3. What if I don’t have a pie dish?
A3. You can use a springform pan or even a tart pan as an alternative.
Q4. How do I prevent the crust from getting soggy?
A4. Blind baking the crust (baking it empty with pie weights) helps to prevent sogginess.
Q5. Can I add flavors to the filling?
A5. Yes, you can add a splash of liqueur like Grand Marnier or a teaspoon of instant coffee for a different flavor profile.